
As the world increasingly turns to renewable energy sources, solar power has emerged as a leading option for homeowners seeking to reduce their carbon footprint and energy bills. At the heart of any solar energy system is the solar inverter, a crucial device that converts the direct current (DC) generated by solar panels into alternating current (AC) for home use. This article explores the various types of solar inverters, their installation processes, and the benefits they bring to households.
What Is a Solar Inverter?
A solar inverter is a critical component of a solar energy system. It performs the vital function of transforming DC electricity—produced by solar panels—into AC electricity, which is what most household appliances require. Without an inverter, solar energy cannot be utilized effectively within the home.
Types of Solar Inverters
There are several types of solar inverters available, each with its unique advantages and disadvantages:
- String Inverters
- Description: The most common type of inverter, string inverters connect multiple solar panels in a series (or “string”).
- Advantages: They are generally less expensive and easier to install than other types. They are ideal for homes with unshaded roofs.
- Disadvantages: If one panel in the string is shaded or underperforming, the entire string’s output is affected.
- Microinverters
- Description: Microinverters are installed on each individual solar panel.
- Advantages: They maximize energy production by allowing each panel to operate independently. This is particularly beneficial for roofs with shading issues.
- Disadvantages: They are usually more expensive than string inverters, and installation can be more complex.
- Hybrid Inverters
- Description: Hybrid inverters can manage both solar energy and battery storage, allowing for energy usage during outages.
- Advantages: They provide flexibility in energy management and are ideal for homeowners looking to store excess energy for later use.
- Disadvantages: They can be more expensive than standard string or microinverters.
Investing in solar inverters offers a variety of benefits for homeowners:
- Cost Savings
By generating your electricity, you can significantly reduce your utility bills. The savings can be even greater if you have a system that allows you to sell excess power back to the grid. - Environmental Impact
Using solar energy helps reduce reliance on fossil fuels, lowering greenhouse gas emissions. This shift towards renewable energy is essential for combating climate change. - Energy Independence
Solar energy can provide greater energy independence by reducing reliance on traditional power sources. This is particularly valuable during power outages or energy crises. - Increased Property Value
Homes equipped with solar energy systems often see an increase in property value, making them more attractive to potential buyers.
Installing a solar inverter involves several steps, which we will outline in detail:
Step 1: Assess Your Energy Needs
Before you begin, it’s essential to evaluate your household’s energy consumption. Review your electricity bills over the past year to calculate your average daily usage in kilowatt-hours (kWh). This information will help you determine the size and capacity of the inverter you need.
Step 2: Choose the Right Inverter
Once you understand your energy needs, you can select the right inverter for your system. Consider factors such as:
- Type of inverter: Decide between string inverters, microinverters, or hybrid inverters based on your roof’s characteristics and your energy goals.
- Brand and model: Research different brands to find reputable manufacturers with good warranties and customer service.
Step 3: Obtain Necessary Permits
Before installation, check with your local government regarding permits and regulations. Many regions require permits for solar installations, which ensures that your system complies with safety and building codes.
Step 4: Prepare for Installation
Gather all necessary tools and materials for installation, including:
- Drill
- Wrenches
- Wire cutters
- Safety gear (gloves, goggles)
If you’re unsure about any aspect of the installation, consider enlisting the help of a professional or a knowledgeable friend.
Step 5: Installing the Inverter
- Select a Location: Choose a well-ventilated area, typically near the main electrical panel or in a garage. Avoid direct sunlight to prevent overheating.
- Mount the Inverter: Use the manufacturer’s guidelines to securely mount the inverter on the wall.
- Wiring the Inverter: Connect the solar panel cables to the inverter according to the instructions. Ensure all connections are secure to prevent energy loss.
Step 6: Connecting to the Electrical Grid
If you plan to connect your system to the grid, this step may require a licensed electrician. They will ensure that your installation complies with local codes and safely integrates with the existing electrical system.
Step 7: Testing the System
Once everything is installed, turn on the inverter and monitor its performance. Many modern inverters come with smartphone apps that allow you to track energy production and usage in real time.
Solar inverters play a crucial role in harnessing solar energy for home use, making it accessible and efficient. By understanding the types of inverters available, the benefits they offer, and the installation process, homeowners can make informed decisions about transitioning to solar power.
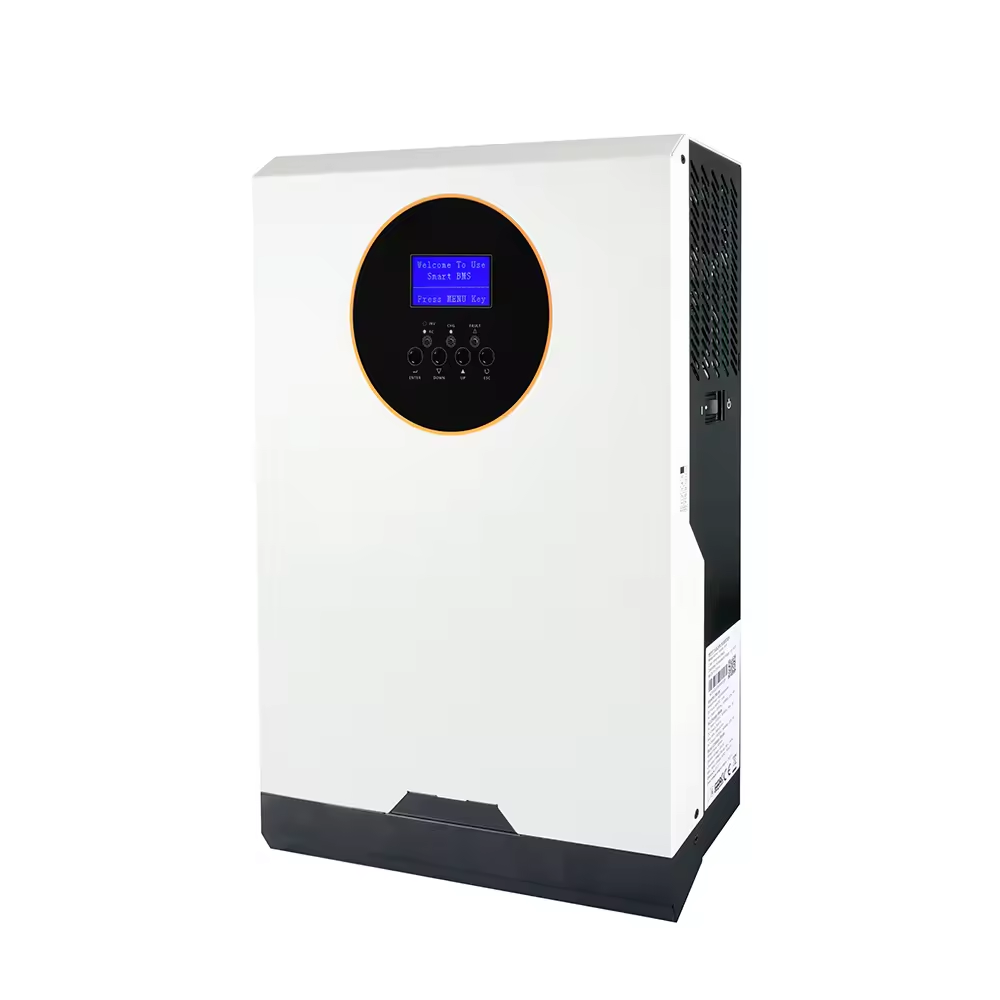
Our HP series solar inverters are particularly well-suited for everyday households, combining sleek design with easy installation. With the right inverter, families can enjoy the numerous benefits of renewable energy, contributing to a sustainable future while saving money on energy bills.